Happy 2014!
I have already been very busy sewing, but cannot show you the designs, just yet! I can however share the latest tool that I have purchased. I make numerous quilts and projects every year. And, while enjoy the hand sewing of the binding, it does take time to get around the edge of large quilts. As I wandered among the many stalls at Houston International Quilt Festival last October, I spotted what I thought may be an answer to completing some of my quilts: The Shortcut Binding Tool by Franklin Quilt Company.
I love handy bit’s of plastic, and this is my current favourite for binding.

This tool allows you to make a contrast flange and binding all in one step. Two different size strips are cut from the selected fabrics, the measurements are on the ruler so you can use the ruler to cut your strips. The strips are then sewn into lengths, like a normal binding, then sewn together to make the full width. Bindings are then pressed in half, right side out , as per normal. But, the contrast flange colour will sit out on one edge, past the edge of the actual binding fabric.
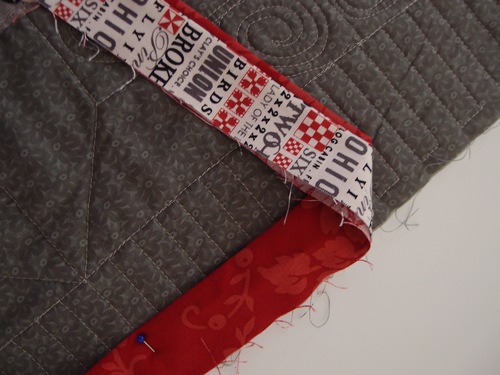
The binding is then sewn onto the back of the quilt, with the flange side facing you. While the instructions are comprehensive, they neglected to say that the edge of the quilt and the batting all needs to be level. I personally leave a 1/4in of batting and backing fabric visible past the edge of my quilt when I do normal, 2 1/2in cut bindings. So, after trimming the extra away, the binding is sewn onto the back, with a walking foot and a 3/8in seam allowance. Mitre the corners as per normal. A 12in tail is left at the beginning and an 18in opening when you come back around to allow the joining of the binding.

Both ends of the binding are marked as per instructions, then cut on the angle.

The two angled ends are then joined as per a normal 45 degree seam in a binding. The last of the binding can now be stitched onto the quilt.
Then, the binding is rolled over to the front of the quilt and you stitch in the ditch next to the binding, in a thread to match to the flange that you are sewing on. Did I mention no hand sewing with this method? It all happened quickly and easy!

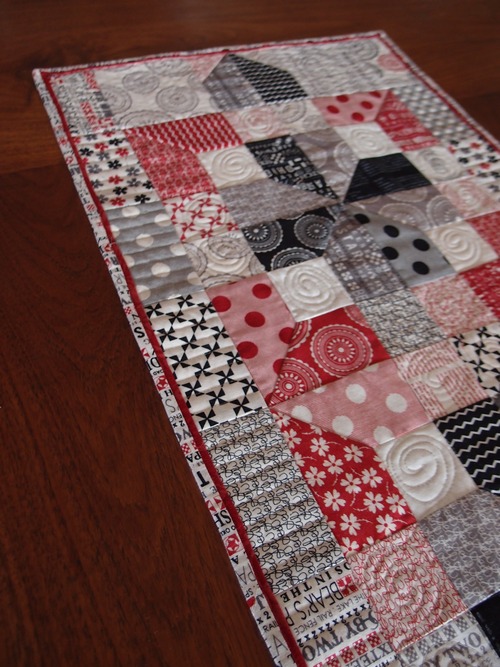
My new tablerunner that had been waiting for binding for several months was now completed. The contrast flange gives a lovely detail to the edge and avoids the fabric in the binding matching up with itself at any point in the design. I love this new binding tool!
But, and there is normally some type of but…… you do end up with a straight line of sewing which is visible on the back of the quilt or project. This will not stop me using this on any projects, other than those entered into a quilt show. I love the effect of the flange, and the speed of completing the binding. Overall, very happy with my new purchase.
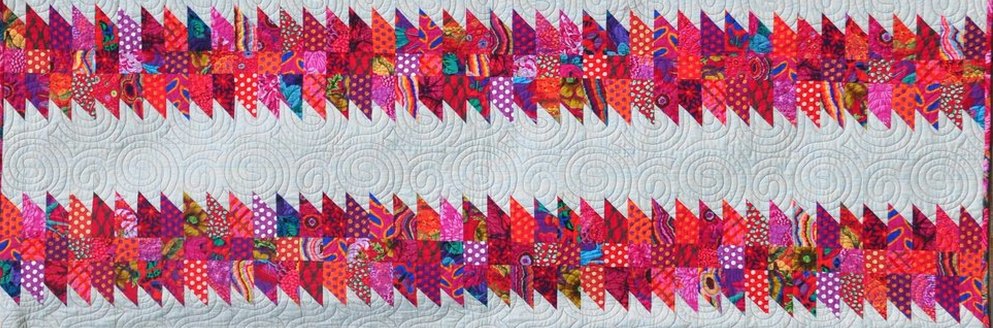
Now off to write the instructions for the tablerunner. I have called it Elbows and it uses my MM100 Scrap, Stash and Strip Template set and two 5in Charm square packs.
Happy Stiching!
